Knitting mittens is probably one of the easiest and exciting activities to practice. They are not only quick to make, but they also crack your brain, giving you a simple mental exercise. It is a fun activity to engage in since you get to finish even before you start. Sounds interesting, right? Well below is a step by step guide that will give you an excellent outcome from knitting which will make you yearn to go on:
1. Distribute The Stitches On DPNS
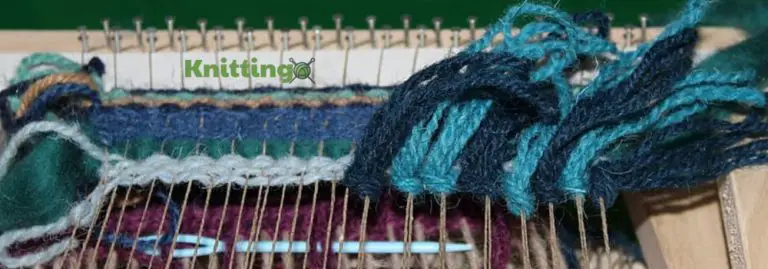
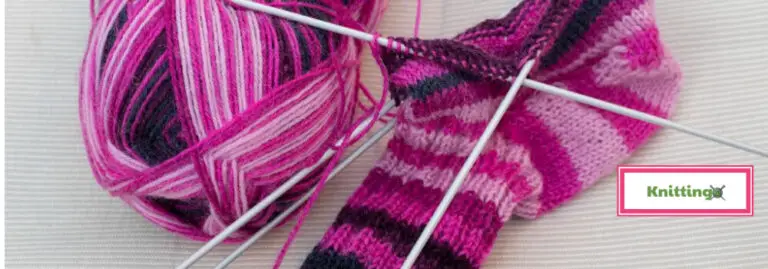
Double pointed needles (DPNS) are ideal for small items such as mittens as they allow you to join them in a round and knit on and off. You should distribute the stitches across three Double-pointed needles. Although the arrangement may be hard to manipulate, you should try your best to produce a triangle with the needles and ensure that the row is not twisted.
The working needle should be on top of the other two, and so your arrangement must not be different. While picking up the fourth needle in your right hand, you should join to knit in the round in K1, P1 ribbing. After knitting the stitches on the first needle, you should then push them to the center of the DPN and reposition the needle under the next one. Rotate your piece of work and continue on K1, P1 rib for sixteen rows.
2. Increase The Stitches
Knit all the stitches on the next row and call this row one. Knit four stitches on row two and create a new stitch. You should then twist a loop of your working yarn on to the right needle, and this helps you to the first stitch increase referred to as M1 (make one). You will need to continue stitching, creating more rows.
3. Save Some Thumb Stitches
It is necessary to save some thumb stitches which will be used later, before proceeding to the rest of the hand. Thread a scrap yarn about 10-inches/25cm through a yarn needle. Make stitch increases to the left and right.
The M1 increase may create some gaps in the stitches, but this should not worry you since you will tighten them at the end.
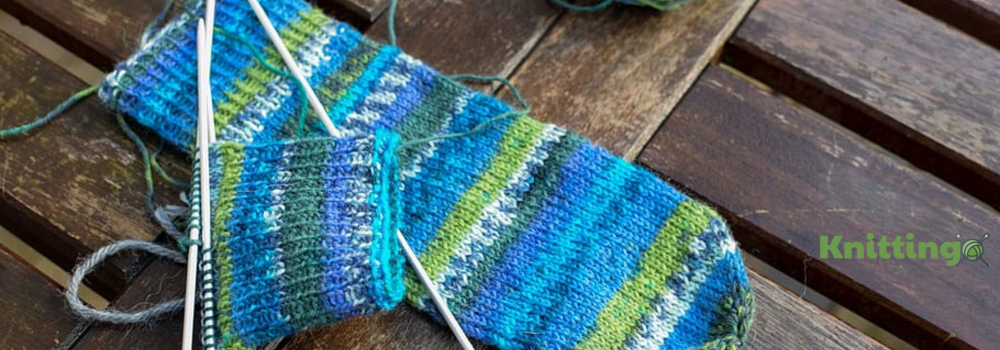
4. Shaping The Top Of The Mitten
You should develop the top of the mitten by SSK (slip, slip, knit), which is a left-leaning decrease. Mixing this decrease with a k2tog (knit two together) results in a classy, symmetrical look for the mittens.
Slide two stitches from left to right needles like you are knitting, then place the left needle back into the two stitches and knit them together. You then need to cut a 12-inch tail and yarn it into the needle. You should then pass it through all the stitches twice, cinch down the lace in the end.
5. Adding A Thumb
To add a thumb to your mitten, cut off the knot in the scrap thread and slide the stitches onto the two DPNs. Pick stitches from the edge to create some along the remaining side of the thumb. You should then place a new strand of yarn and empty the needle as if to knit. Insert the needle into an opening close to the needle before.
Hold the thread tail with the right hand to keep it firm and wrap the working yarn anticlockwise around the needle. Pull back the wool through to create a knit stitch. Repeat the process and pick four stitches between the other two DPS. Shape the thumb and decrease to finish.
Cut the yarn and use a needle to thread the piece while removing the DPNs. Finally, pull the wool tight and thread it through the loop. Weave in the yarn end.
Conclusion
With the right steps, making mittens can be easy. You need to have the right needles and yarn.